


Our team has experience working everywhere from residential to industrial properties.
Pennsylvania's Premiere Painters
Drywall Installation in Sewickley, PA
4.9 Stars - Based on 84 User Reviews
Sewickley is a community built on established homes with character, and that history comes with real interior challenges. Many local properties still have original lath-and-plaster walls that have cracked, sagged, or simply run their course after decades of use. Others have been through remodels that left behind patched areas, uneven surfaces, or walls that were never finished to the standard the rest of the home deserves. For a neighborhood where property values are taken seriously, and interiors are expected to reflect that, wall surfaces that look tired or uneven stand out in all the wrong ways.
New drywall installation gives your home a clean starting point. Whether you are reconfiguring a room layout, updating a bathroom, finishing a basement space, or replacing damaged walls near plumbing, properly installed drywall creates the smooth, level surface that interior paint and trim work depend on. Pete's Pro Painters has worked with Sewickley homeowners on exactly these kinds of projects, and that local experience matters when your walls need to meet the finish quality that higher-value homes in this area call for.
Older construction in western Pennsylvania often means drywall projects involve more than hanging new board. Transitions between existing walls and new work, ceiling connections, corner detailing, and seam finishing all require careful attention to get right. That is where the real difference between a passable job and a professional result shows up.
How Drywall Installation Works in Sewickley, PA
Understanding the installation process before work begins helps set clear expectations throughout the project. Here is how Pete's Pro Painters completes a drywall installation from the initial evaluation through the finished walkthrough.
- Step 1: Interior Condition Assessment
The project begins with a thorough review of the walls, ceilings, and surrounding areas involved in the installation. Attention is given to signs of previous moisture exposure, framing irregularities, remnants of older wall finishes, and other conditions that could influence the installation. Identifying these factors early helps determine what preparation is needed before new drywall is installed. - Step 2: Solution Evaluation
After the assessment is complete, the existing conditions are discussed in straightforward terms. When repairs or localized replacement can resolve the issue, those options are presented before considering a full installation. Recommendations are based on the condition of the space and the work necessary to achieve a durable finished result. - Step 3: Material Selection and Project Planning
Once the installation approach has been established, the appropriate drywall products are reviewed according to the room's intended use. Panel thickness, moisture-resistant products where appropriate, and the desired finish level are discussed before a detailed written proposal is prepared outlining the planned work and associated costs. - Step 4: Drywall Installation and Surface Finishing
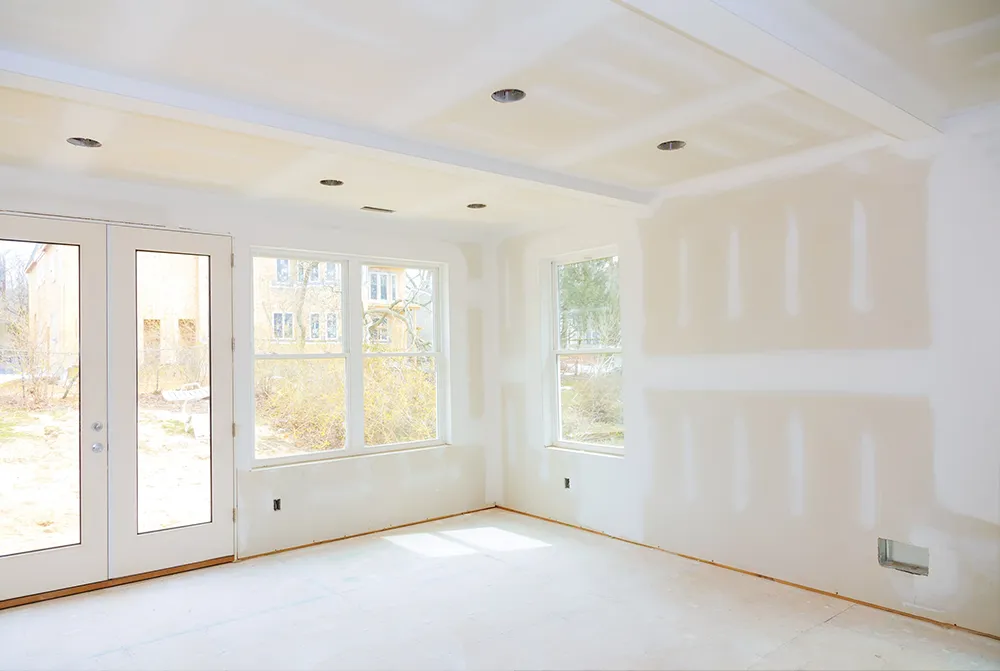
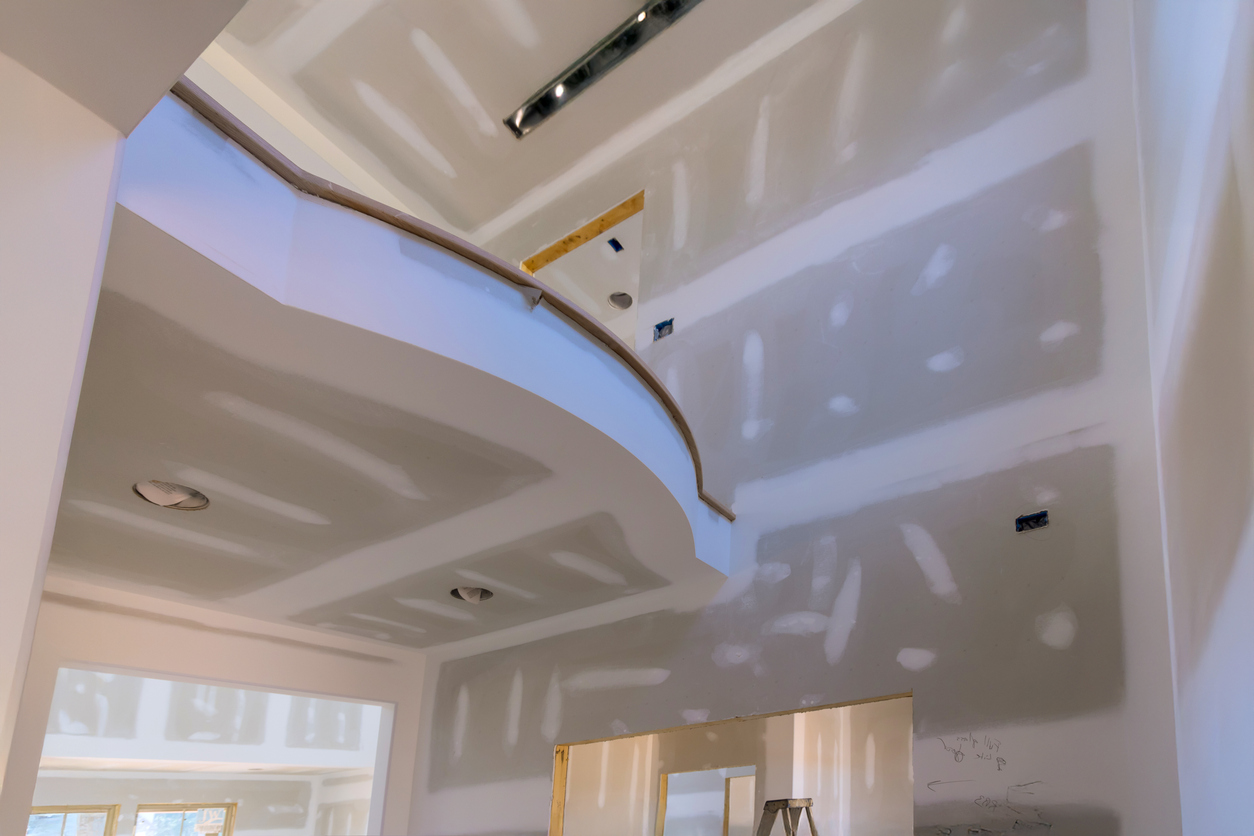
Installation includes fitting the drywall panels, securing them to the framing, taping joints, applying joint compound in multiple stages, and sanding the surfaces to create a uniform finish. During remodeling projects, additional attention is given to transitions around revised layouts, new openings, and ceiling connections so the completed work integrates cleanly with the surrounding construction. - Step 5: Finished Surface Verification
When the installation is complete, the finished walls and ceilings are carefully inspected to verify smooth surfaces, consistent joints, and proper workmanship. A final walkthrough reviews the completed work, addresses any remaining touch-ups that may be needed, and confirms the surfaces are ready for primer and paint.
Drywall Project Types Common in Sewickley, PA
Sewickley homes span a wide range of ages and interior conditions, which means drywall installation comes up in a lot of different situations. Knowing which type of project you are dealing with helps set realistic expectations around job scale, timing, and what the finished result will look like.
| Project Type | Common Trigger | What It Involves |
|---|---|---|
| Lath-and-Plaster Replacement | Cracked, sagging, or failing original walls | Full removal of old material and installation of new drywall board over existing framing |
| Remodel Wall Work | Room reconfiguration, new openings, or removed walls | New board hung to match updated layout with seams and corners finished to blend with surrounding surfaces |
| Water-Damaged Wall Repair | Leaks near plumbing, bathrooms, or basements | Removal of compromised board, framing check, and replacement with properly finished new drywall |
| Ceiling Installation or Repair | Damaged, uneven, or outdated ceiling surfaces | Full or partial ceiling board installation with taped and finished seams ready for paint |
| Finish-Level Upgrade | Visible seam flaws or surfaces not ready for quality paint | Skim coat or complete refinishing to achieve a smooth, level result in high-visibility living spaces |
For older Sewickley properties, projects rarely fall into just one category. A bathroom remodel might involve both water-damaged board removal and new wall layout work. A basement update might combine fresh installation with ceiling repairs. Understanding the full scale from the start keeps the project on track and the finished walls looking the way your home deserves.
Board Type and Thickness Selection
Not every room calls for the same drywall, and using the right board matters. Bathrooms and spaces near plumbing get moisture-resistant options, while ceilings, living areas, and high-traffic walls each have thickness specifications that affect how the finished surface holds up over time.
Seam, Corner, and Transition Finishing
In Sewickley homes where visible living spaces carry real value, how seams and corners are finished is just as important as the board itself. We use proper corner bead, multiple mud coats, and careful feathering so transitions between new and existing walls disappear completely once paint goes on.
Framing Readiness and Prep
New drywall is only as good as what it is attached to. Before the board goes up, framing is checked for level, stability, and proper spacing so the finished surface does not shift, bow, or crack down the road, especially relevant in older western Pennsylvania homes where framing has settled over decades.
Paint-Ready Surface Standard
The final sanded and primed-ready surface is where a professional installation proves its worth. Every panel, seam, and repaired area is brought to a consistent finish level so your painter can work without having to compensate for ridges, low spots, or visible tape lines underneath the topcoat.
Get Quality Drywall Installation in Sewickley, PA
Sewickley homes carry real value, and the interiors are expected to reflect that. Whether your project involves replacing walls that have aged past repair, updating a room layout, or getting a space ready for paint after a renovation, new drywall done right gives you walls that look the way they should and hold up the way they need to. Taking care of that work with a crew that understands local construction and finish standards protects your investment and keeps the project from creating problems down the road.
Pete's Pro Painters is ready to help you figure out exactly what your project needs, from the first look at your walls to a finished surface that is ready for paint. If you have questions about job scale, timing, or what to expect, reaching out is a good place to start.
Frequently Asked Questions
Got questions about your roof? We’ve got answers. From maintenance tips to insurance claims and repair timelines, our FAQ section covers the most common concerns homeowners have. Get informed and make confident decisions about protecting your home.
Does new drywall need time to settle before it can be painted, especially in older Sewickley homes?
Yes, and this is something many homeowners do not think to ask. Joint compound needs adequate drying time between coats, and in older western Pennsylvania homes where humidity levels can shift seasonally, rushing that process leads to paint that bubbles, peels, or shows tape lines within months. We account for drying conditions during the project so the surface is genuinely ready before a brush touches it, not just ready enough.
If my drywall project is part of a larger remodel, do I need a permit in Sewickley?
It depends on what else is happening in the project. Drywall work on its own typically does not trigger a permit, but if walls are being moved, room use is changing, or electrical and plumbing work is involved, local permit requirements often apply. It is worth confirming the scale of your remodel with your contractor early, because permit requirements in the Sewickley area are tied to the full picture of the work, not just the wall surfaces.
What is the real difference between a skim coat and a full drywall replacement, and how do I know which one my walls actually need?
A skim coat applies a thin layer of joint compound over an existing surface to smooth out imperfections without removing the underlying board, which works well when the structure behind the wall is still solid and dry. Full replacement is the right call when the board itself is water-damaged, crumbling, or too uneven to correct with finishing alone. In Sewickley homes with original plaster or walls near bathrooms and basements, the answer often comes down to what a close inspection of the framing reveals, which is something we check before recommending either direction.
SEASONED PROS
Get In Touch
Choose Us For Pittsburgh’s Best Painting Services